Share this
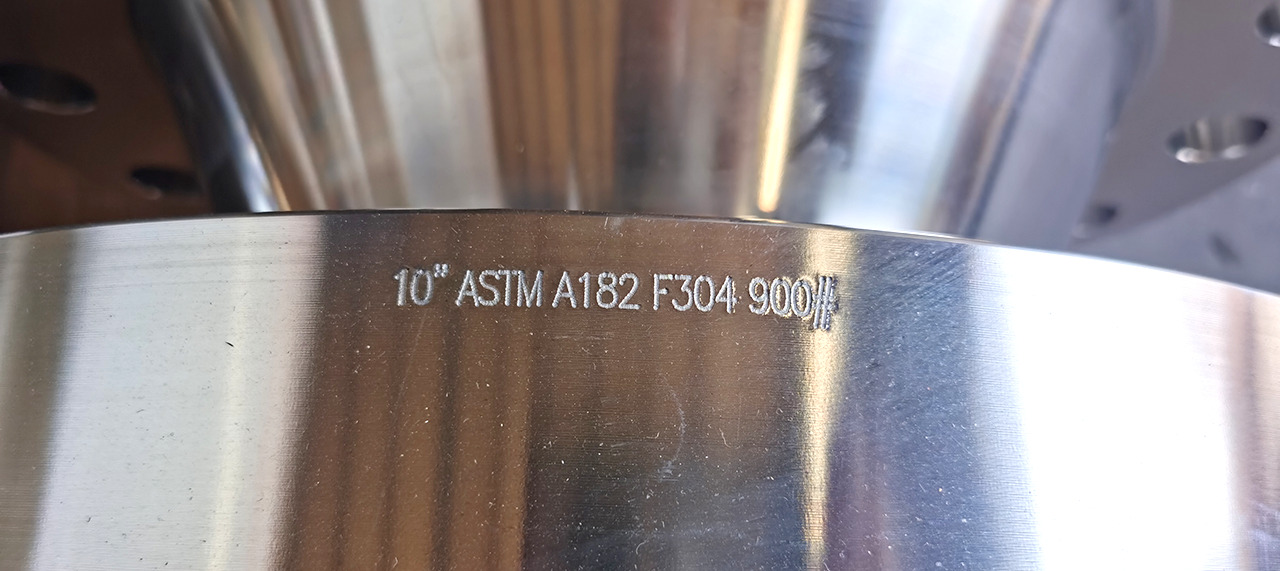
Flange marking is a common industrial practice used to identify relevant information about flange connection points. While there is no unified international standard that applies to all cases, it generally follows some common standards and requirements. Here are the typical standards:
1. Flange type identification: Flanges are usually marked with their type, such as weld neck flange, threaded flange, blind flange, etc. This helps identify the flange’s application scope and connection method.
2. Dimensional identification: Flanges are marked with relevant dimensional information, such as flange size (inner or outer diameter), flange thickness, etc. This is crucial for selecting the correct fittings and performing installations.
3. Material identification: Flanges are typically labeled with the material used, such as carbon steel, stainless steel, cast iron, etc. This ensures that the selected material meets the requirements and avoids issues caused by material mismatch.
4. Pressure rating identification: If applicable, flanges may be marked with their rated pressure class, such as ANSI 150, PN 16, etc. This is an important indicator to ensure that the flange connection meets the design pressure requirements.
5. Manufacturer identification: Flanges may bear the manufacturer’s logo, trademark, or code to identify their source and quality control system.
Please note that specific flange standards and requirements may vary based on different industries, countries, or regions. In practical applications, you should determine the applicable flange marking standards based on the specific standards, regulations, and project requirements involved. It is recommended to refer to relevant standards such as ASME B16.5, EN 1092-1, etc.

